Publishing to Microsoft Teams
Learn how to configure the integration with MS Teams. Let users of Teams message your bot and get quick answers.
To publish your chatbot to Teams, you will need an Azure bot (or a Bot channels registration which is now deprecated) in the Microsoft Azure Portal.
Create an Azure bot
First, you have to open Azure Portal and create an Azure bot. The service is provided free of charge for the so-called premium channels (such as Microsoft Teams), you only need to have an active Azure account. For guidance on how to set up the registration please follow the official documentation.
Obtain your Azure bot’s credentials
From the Azure bot you should be able to retrieve its App ID and an App Password (a.k.a client secret). You can find your App Id in the Configuration tab. Next to the App Id is a Manage link that will lead you to the Certificate and secrets tab of the Management settings for your Azure bot. From there you can create a client secret (a.k.a. App Password) by clicking the New client secret button
Create a new channel in NativeChat
- Open the Publishing section of your NativeChat bot,
- Click the Add button for Microsoft Teams to open the Add Microsoft Teams configuration form.
- Provide the App ID and App Password you have obtained from your Azure bot resource in Azure.
- If you wish to restrict access to your bot to only members of your organization, select the Restrict Access To A Single Organization checkbox and enter the tenant id for your organization in the Organization O365 Tenant Id textbox. You can find the Tenant Id for your organization in Azure or look up the Tenant Id for any organization at www.whatismytenantid.com.
- Click the Add configuration button. You will receive a Messaging endpoint URL that you will need to enter in the Azure bot’s Configuration in Azure.
Configure the Messaging endpoint URL
Open the Configuration tab of your Azure bot in Azure, paste the endpoint URL that was generated by NativeChat in the Messaging endpoint textbox, and click the Apply button. This will connect your Azure bot with NativeChat and you should now be able to chat with the bot.
Test your bot
With the Web Chat interface in Azure
The easiest way to validate that the setup is correct is to open the Test in Web Chat tab of your Azure bot. There you will find a chat window where you should be able to communicate with your bot.
With Microsoft Teams
To add your bot as a contact to your Teams account you will have to:
- Add the MS Teams channel in the Channels tab in Azure.
- Open the embedding link in your browser.
Please refer to these instructions for more details.
supportsFiles setting.Publishing your bot as a Teams App
The recommended way of distributing Teams bots in production is to create a Teams App using the App Studio app in Teams. Please use the official guide for details on how to create and test a Microsoft Teams app, and how to upload and publish it in Teams.
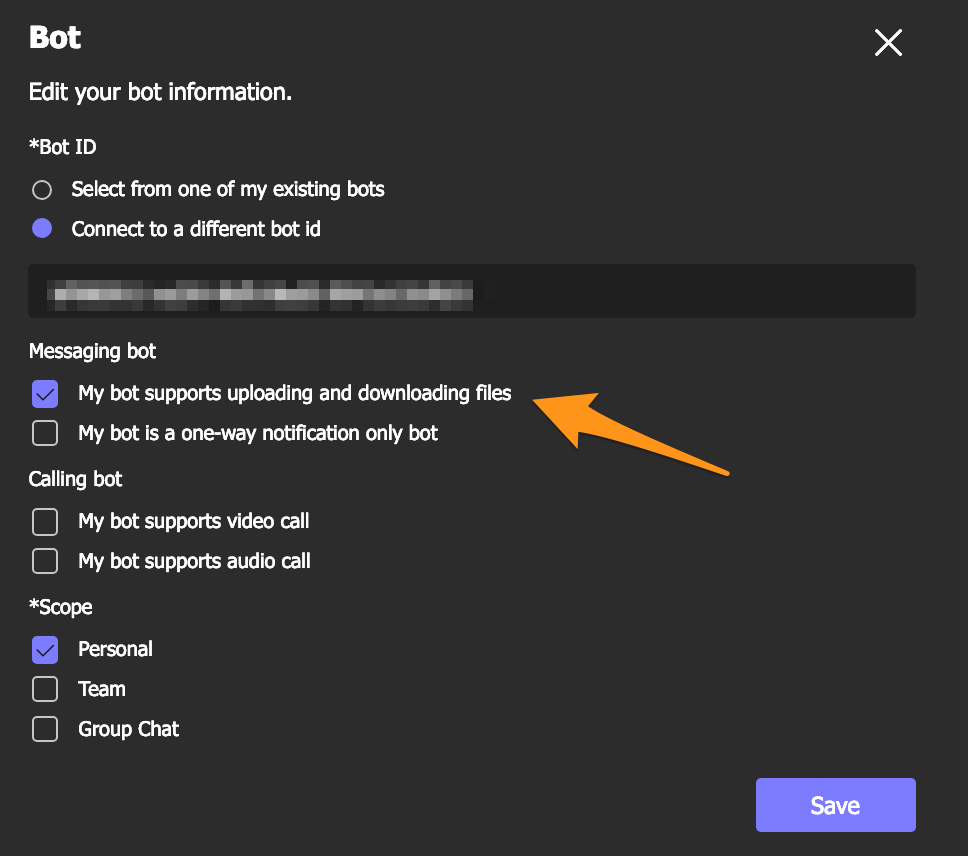
Enabling file transfer support
If your bot needs to receive or send files you have to enable the supportsFiles setting in your MS Teams application manifest. If you
use App Studio you have to:
- Open the Capabilities | Bots wizard page
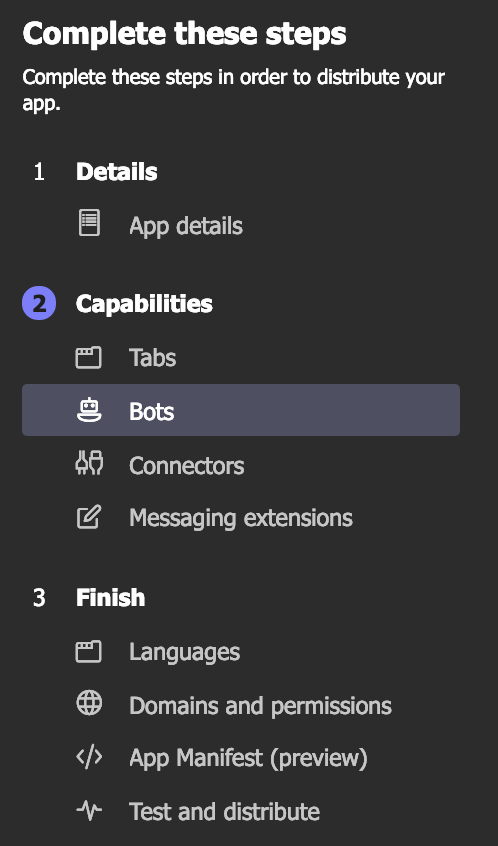
- Press the Edit button
- Tick the checkbox labeled My bot supports uploading and downloading files in the Messaging bot section of the dialog
Allowing opening of third-party authentication URLs
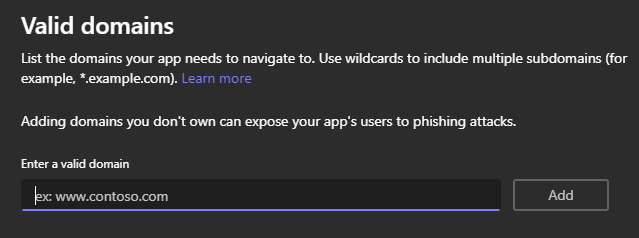
If your bot uses third-party authentication you need to explicitly allow Teams to open the issuer URL by adding the domain of your authentication provider to the list with valid domains in your MS Teams application manifest. If you use App Studio you have to:
- Open Finish / Domains and permissions wizard page
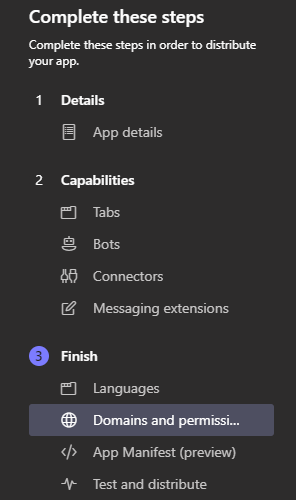
- Enter the domain of you authentication provider in Valid domains
- Press the Add button
Configuring authentication providers in Azure
For a smoother authentication flow you will need to set your authentication provider in Azure, directly on your Azure Bot resource.
- In Azure portal go to your Azure Bot resource
- Select Configuration
- Select Add OAuth Connection Settings
- Choose an identity provider from the drop down menu and add the required parameters. For Azure Active Directory you can refer to the official Microsoft documentation
- Test the connection
To allow Teams to use the issuer URL, add the domain of your authentication provider and token.botframework.com to the list with valid domains in your MS Teams application manifest.
Configuring Single Sign-On (SSO)
If your bot accesses resources in Azure (e.g.: gets the availability of the user from Outlook Calendar) then the flow will be much smoother if you configure Single Sign-On as MS Teams and all Office 365 products use the same identity provider and users will need to log in only once.
To configure Single Sign-On for your bot you need to:
- Create a new App Registration in Azure portal
- To be able to login from the Teams mobile and desktop application, from your App Registration select Expose Api and add
1fec8e78-bce4-4aaf-ab1b-5451cc387264as a new client id. - To be able to login from the Teams web application, from your App Registration select Expose Api and add
5e3ce6c0-2b1f-4285-8d4b-75ee78787346as a new client id. - In Azure portal go to to your Azure Bot resource
- Add a new OAuth connection that points to your App Registration and configure it
Then you need to update your MS Teams application manifest. If you use App Studio you have to:
- Open Finish / Domains and permissions wizard page
- Enter the App Id of your App Registration resource in AAD App ID

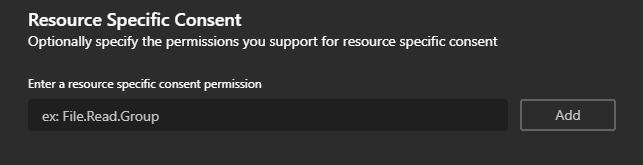
- For all permissions that you bot will need, enter the permission name in Resource Specific Consent and press the Add button
- Add the resource URL of the app acquiring the auth token for SSO for your bot. It has the format
api://botid-<app id of your Azure Bot resource>
Known issues
The Microsoft Teams channel is still in Beta and is missing some of the features available in the other channels that NativeChat provides.
Limitations
- Location picker is not supported
- Single-select and Multi-select do not support images and subtitles. They show only each item’s title field.
Things to consider
- After a user selects an item using the UI for Single-select, Multi-select or Date-picker they won’t see the actual response in the chat. This behavior of the Adaptive Cards cannot be changed and you may want to add some additional steps to your cognitive flow in order to display the chosen value.
Somethings missing or not clear?
Ask a question in our community forums or submit a support ticket.